landscape solutions
FIBREGLASS POOL INSTALLATION PROCESS

step 1: choose the location
Determine the best location for installation of your fiberglass pool based on factors such as sunlight exposure, view, and proximity to the house. Obtain any necessary permits or approvals from your local government.

step 2: EXCAVATE
A professional excavation service digs a hole for the pool, based on the dimensions of the pool shell.

step 3: prepare the base
Create a base for the pool to sit on, such as compacted sand or gravel, to provide a level and stable foundation.

step 4: SET THE POOL SHELL, BACKFILL & LEVEL
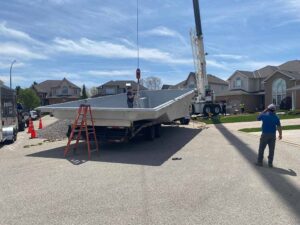
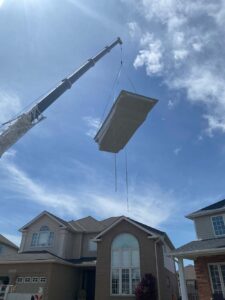
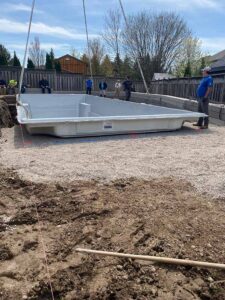
The fiberglass pool shell is placed into the excavated area. Temporary supports or braces are used to hold the shell in place while backfilling around the edges with gravel or sand. The level of the pool shell is continuously assessed to ensure it remains level.

step 5: plumbing & electrical
Required plumbing and electrical components are installed, such as the filter, pump, and lighting, according to the manufacturer’s instructions.

step 6: pool deck
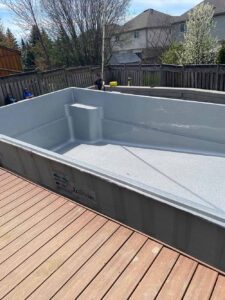
The deck area around the pool is created to provide a stable and attractive surface for walking and lounging. Consider adding decorative touches such as stamped or stained concrete to enhance the appearance.

step 7: fill the pool
Fill the pool with water and ensure that all systems are functioning properly. Balance the water chemistry and add any necessary chemicals to maintain proper water quality.

step 8: landscaping
Finish off the area in your backyard with landscaping, such as plants, flowers, or trees, and add any desired finishing touches such as fencing, pool furniture, or outdoor lighting.

step 9: enjoy!
Once the installation is complete and the pool is filled with water, it’s time to enjoy your new fiberglass pool! Follow proper maintenance procedures to ensure that your pool stays in top condition for years to come.
Would you like to learn more about fiberglass pools?
View our FAQ page about backyard swimming pools

Contact Us

Any questions?
Please send us an email to set up a free consultation.

